In this guide we shall set a product to out of stock using WooCommerence.
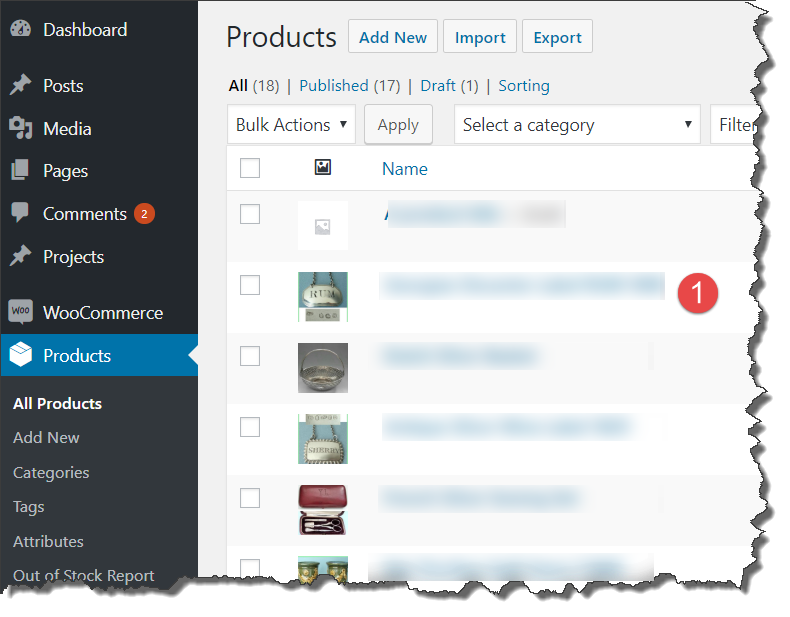
First Login to your website to see your dash board. Then select Products and All Products in the side menu.
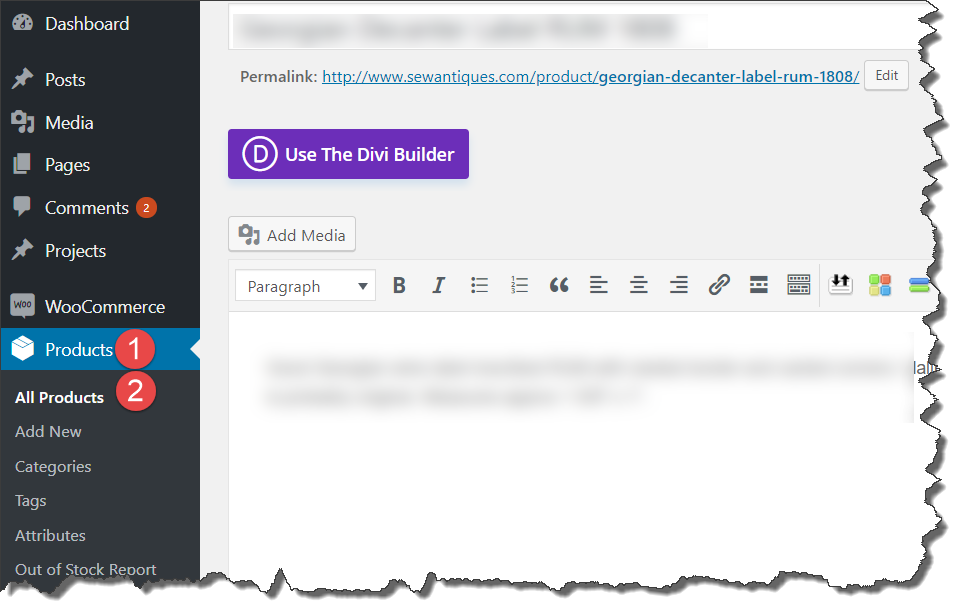
Choose the product which should be set to Out of Stock.
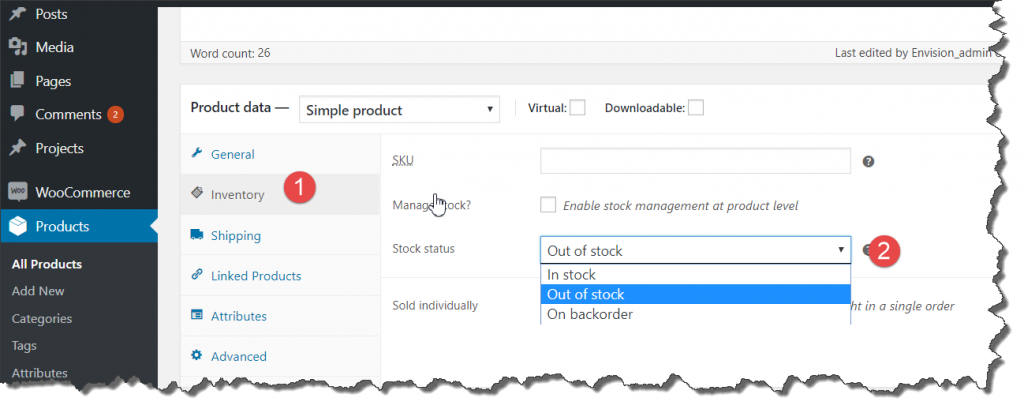
Scroll to the bottom of the product. Select Inventory. On the right hand side select the Stock Status drop down box and select Out of Stock.
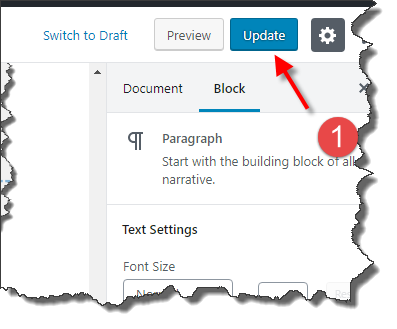
Finally scroll to the top of the page and select update to save your changes.
The product is now set to out of stock.
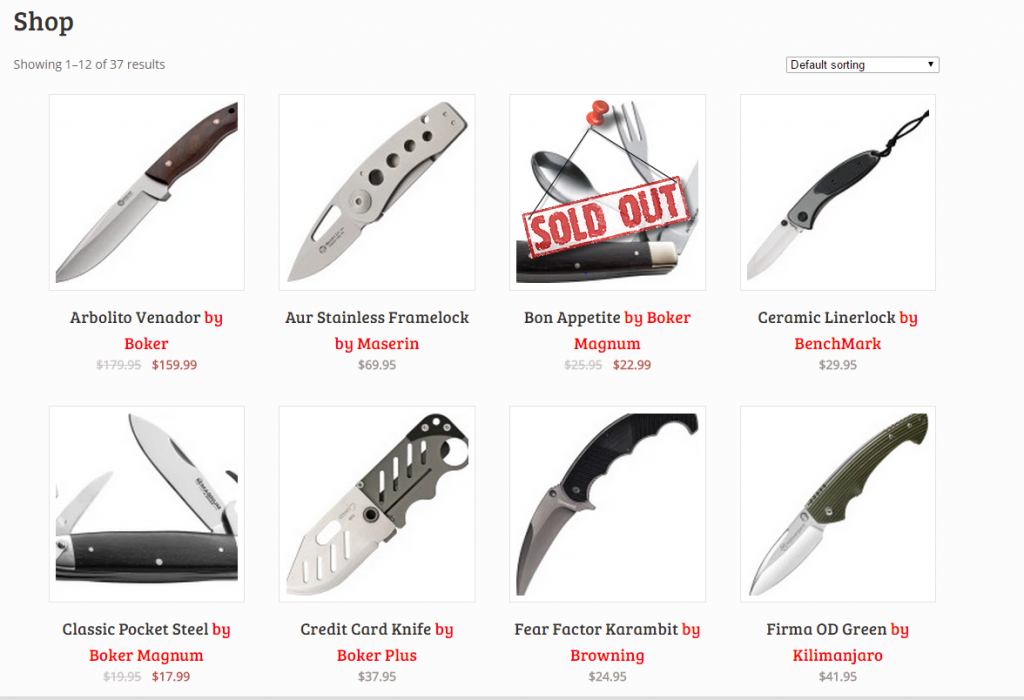
Note: You may have a SOLD OUT image overlay to clearly inform visitors that the product is no longer available. This overlay can be added/ removed. Contact Envision for support on this.